Showing posts with label Hand-made touches. Show all posts

Thursday, July 14, 2011

Alternatives to a Wishing Well

We didn't want a typical wishing well for our wedding, but we still needed something that people could put their cards and gifts into.

I tossed up quite a few different ideas of what we could use (things like birdcages -which are also a bit typical, old suitcases, a letterbox, a rustic old crate, a box covered in pretty paper, etc etc) ...in a later post I'll share some of those pics. 


About a week before the wedding I hadn't arranged anything.. and suddenly had no time to trawl through op shops looking for the perfect item. So I ended up using the picnic hamper you see above. It was my mums.. and was actually green on the inside. It also had leather straps which held in plastic cups, plates, cutlery, etc. It was a bit daggy really.

So I set to work with a little more DIY and re-lined it using the same orange gingham that featured on our Jam Jars... and is very similar to our groomsmen's ties.


Step 1 - Cut leather straps off and discard all contents. 
Step 2 - Cut fabric to size
Step 3 - Use hot glue gun to make fabric stick

_______________________________________________________________________

I'm pretty sure that when you plonk 'something that looks like it could store things' at the entrance to a wedding reception... people pretty easily work out what it is there for (i.e. putting cards and gifts into). But it was one week before my wedding and I didn't want any room for error.. so I created some little tags to explain. These tags are the same ones that were tied to our invitations. 

Step 1 - Buy Tags
Step 2 - Decide they are too white and need look more rustic
Step 3 - Make a cup of coffee and dip tags into it. 
Step 4 - Once dry, write on tags


Of course i also went into a panic about whether it was ok to put 'cards' or 'gifts' on the hamper.

ME: - "Does it seem greedy? Does it seem like we are expecting people to bring gifts?"
Reality:- "But people will bring gifts"
ME:- I know, but we don't want them to think we expected them!
Reality:- "But we have a registry"
ME:- Yeah but what if someone doesn't bring anything?
Reality:- Well don't put anything on it then. People will work it out.
ME:- "But then people wont know where to put stuff. OK, we shouldnt put 'gifts'.. that's greedy. Let's just put 'cards'.

Pathetic really. Nobody tells you how much you'll worry about irrelevant details in the lead up to your wedding. Our guests probably barely registered this hamper.. nor the tags!

Thursday, July 7, 2011

Hand-made Table Numbers

I had a few ideas about table numbers.

I thought about using little blackboards.

And I thought about using wood, like the bits i used on tables.


Instead, I bought some little wooden  numbers, some little wooden bases, some super glue and some orange paint.  It all cost me about $15.

The result....Ta-da!


(^ Our tables had to be numbered by row, not table. Hence the 2 numbers on one table!)

What other table number options are out there I wonder...Please share any interesting ideas you've seen!

Jam Jar Favours / Bonboniere

These sweet little jam jars doubled as favours (or bonbonierre, whatever you call them) and place cards at our wedding.


Our 100 year old venue used to be a Jam Factory, back in the day.. so we thought this was fitting. 
Plus it fit with the overall rustic theme.

I had every intention of making the jam myself, but I soon realised that was slightly beyond me. Have you ever read about how to make jam?? Despite my expectations, it is NOT as simple as cooking fruit and sugar and bottling the mixture. First you have to find mini jars as cute as the ones above. Then there's all this technical stuff.. like you have to heat the jam jars so they are hot when you fill them wit hot liquid. Which means you have to handle them with tongs, not hands (fiddly!). And then you cant just put a lid on... you have to boil them (with lids on) in order to sterilise and seal them (messy.. and still fiddly!). 

Have I put you off making your own jam yet??

Well.. what if I tell you that you can buy ready made jam in mini jars for only $1 each? Yep, that changed my mind too! I picked up 150 jars for about $150.

Then I set to work with a little DIY. 
I removed the existing labels so that they looked a little more home-made and rustic. 
I cut little squares of orange gingham (which matched our groomsmen's ties perfectly). 
And I tied them up with string (which tied in with our invitations).
Then we attached tags with guests names. 

They looked great and the guests loved them.
I'm pretty sure our niece opened hers and ate it on her bread roll at the reception!

Thursday, June 23, 2011

Continuing on confetti..

After my last post, I think I should share my 'confetti'.

My Mother-in-Law has a garden full of roses, so she thoughtfully started collecting rose petals and drying them for months leading up to my wedding. She would lay them out on cardboard on the spare beds in her house.. and once they were dry enough, she bagged them up for me. I think she also put a rose scented oil on them because they smelt lovely.

A couple of weeks before the wedding, she delivered LOADS of these petals to me. I had no idea what to do with them, how to present them, and how to make them fit with the rest of our look.

Here's what I came up with:

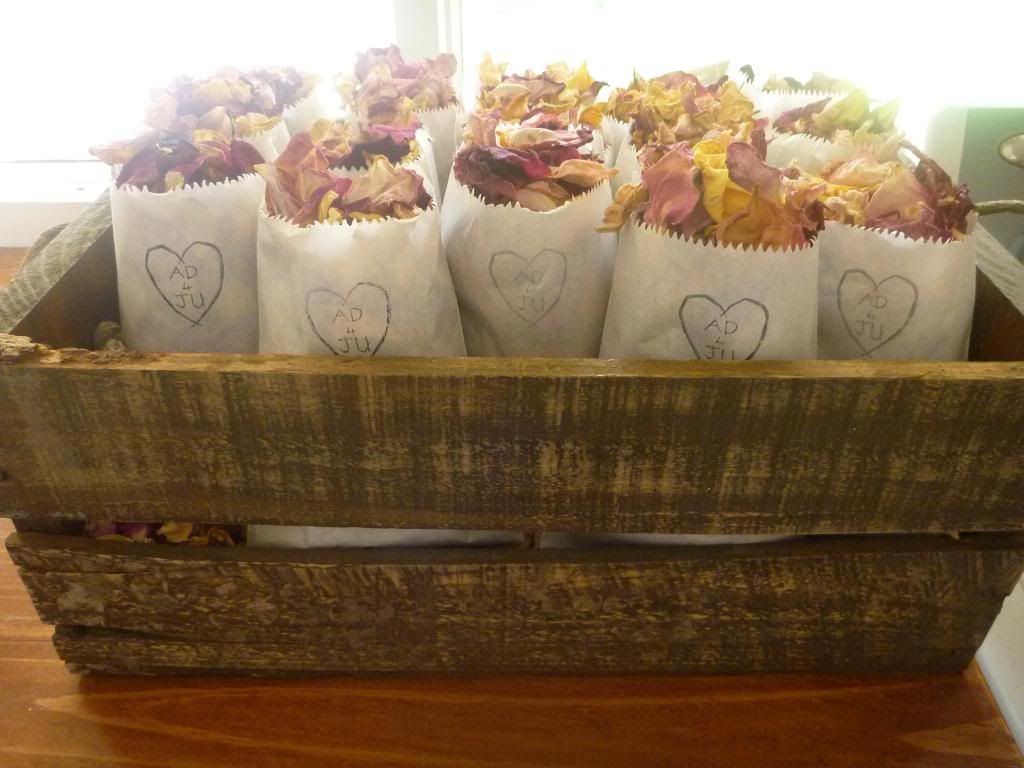
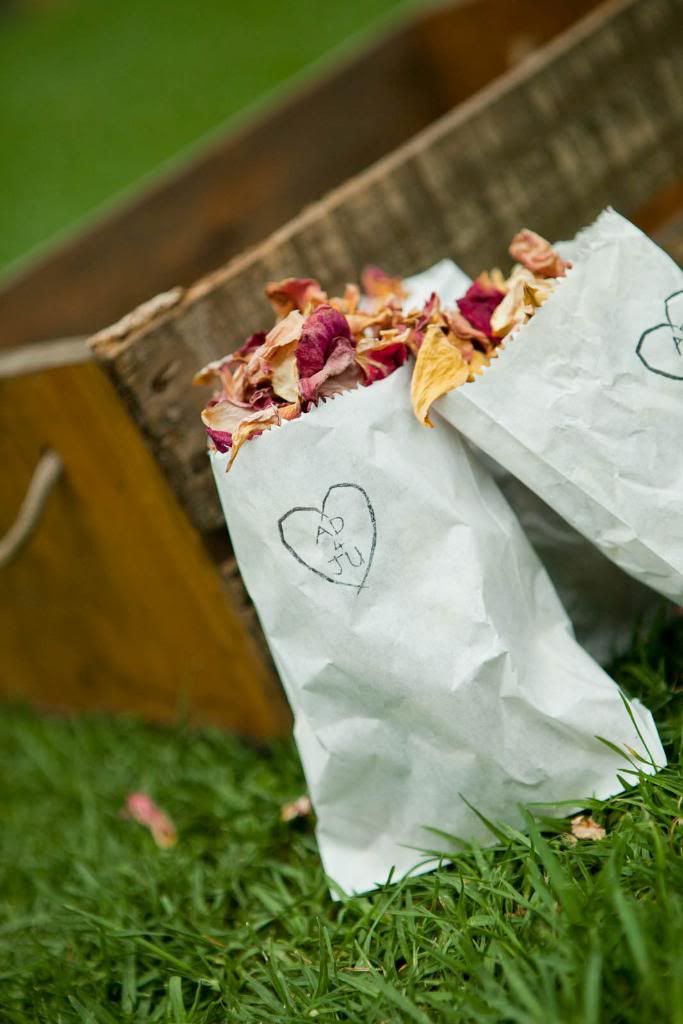
I bagged them up into little white paper bags and stamped them with the stamps from our invitations.


Then I put them into a wooden crate that we had handy. It fit perfectly with the theme after all!

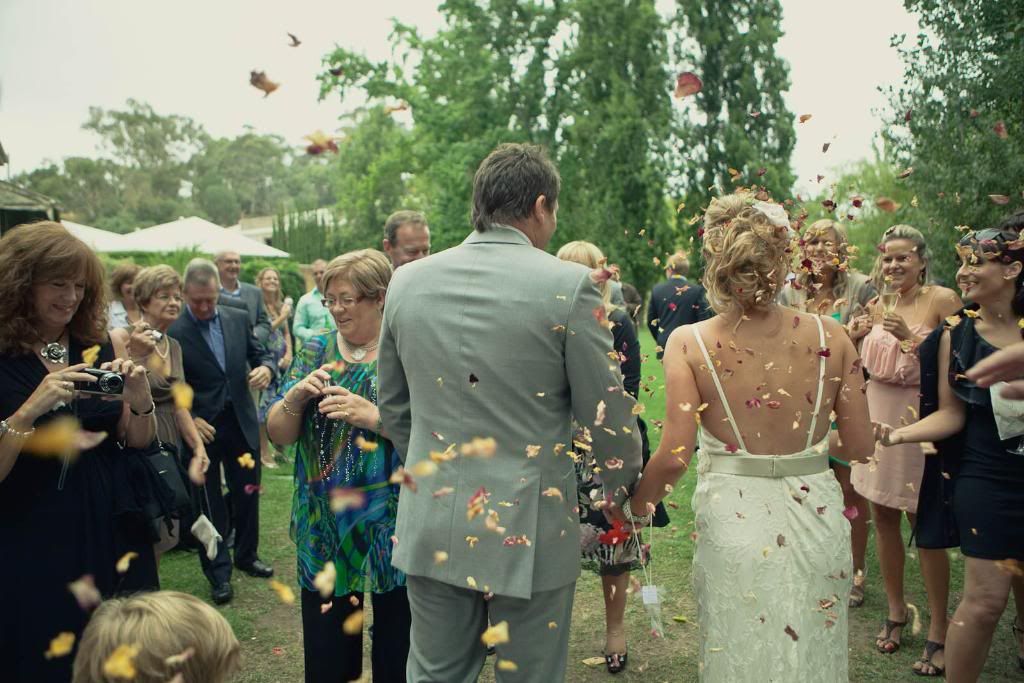
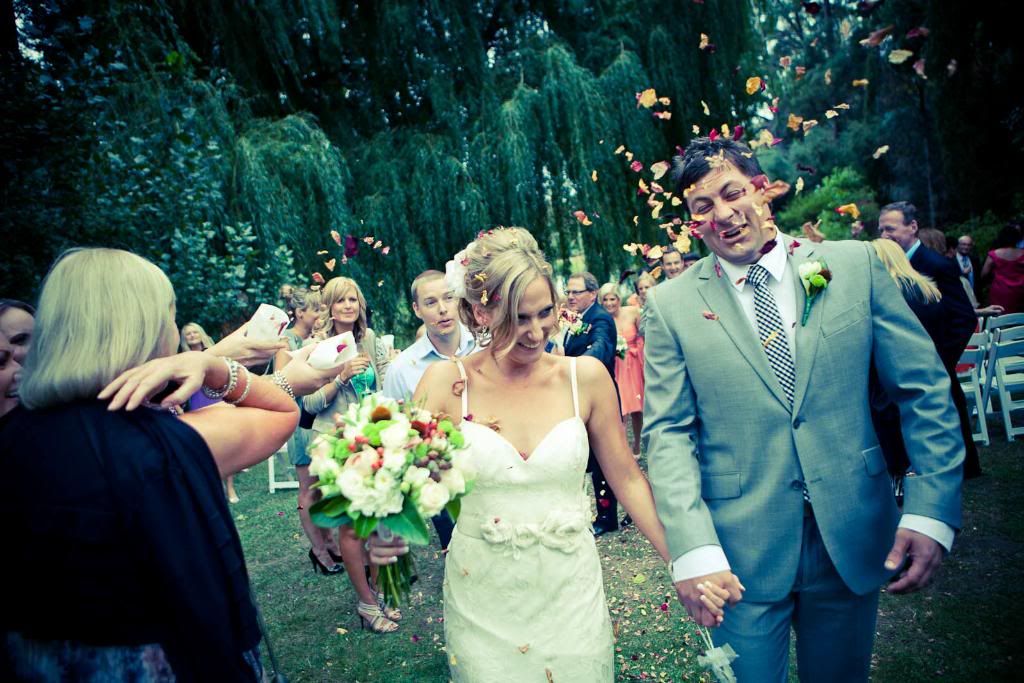
And the result:


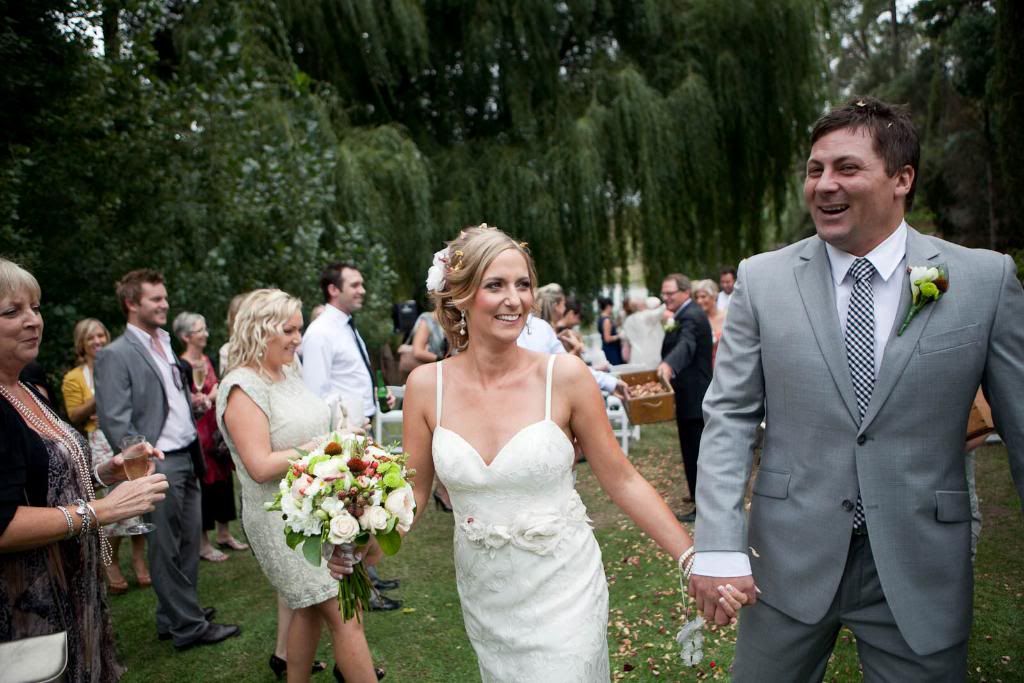
The colourful fanfare I love, a hilarious look as Adam cops it in the face, and a dress filled with rose petals for the rest of the night!


Thanks Mother-in-Law!

Sunday, June 19, 2011

No Confetti, please

Lots of venues these days don't allow confetti. It makes a mess, it's a hassle to clean up and it stains if it gets wet. In fact, some venues even ban rose petals.

But there is something festive and fun about that explosion of colour and fanfare at the end of a ceremony that rose petals and confetti create. Maybe it is the child in me that remembers running up to shower the bride in colour?

Here are some alternatives if your venue wont allow confetti or rose petals:

"Woo" "Yay" "Hooray" flags

I love the idea of the whole crowd waving these madly as the bride and groom descend down the aisle. 

- Easy to make and to tailor to suit your colour scheme or theme:

Planet Mithi

Ribbon Wands
Ditto what I said about the flags.
Great colours, easy to make, no clean-up required.


Bird Seed - in cute packaging:
Bird seed from Orchard & Brown
Bubbles
I'm sure we've all been to a wedding with bubbles.. not unique, but still a suitable and fun option:


Pin-wheels
Colourful. Fun. Festive. ... BUT I wouldn't want to have to make 100 of these!


Any other ideas? What did you use? 

Friday, June 10, 2011

Wood = Rustic

What could be more 'rustic' than wood?
We already had plenty of wood in our venue, given that it was made of 100 year old baltic pine.
But I wanted to decorate with more wood.

Like Rachel and Brent's wedding that I talked about back here:


Or like this lovely cottony, woodsy, wedding that I found while planning:

So we* collected some wood! (*by 'we' I mean 'I' scavenged from the side of the road and random people's houses).
And we^ spent hour upon hour trying to saw straight lines through the hardest wood ever using only a hand-saw! (^by 'we' I mean my spunky husband and thoughtful Dad).
And we came up with just what I had in mind!

1. Wood to form centre-pieces. For vases and candles to sit on and around.


2. Wood to hold our menus.


I love my wood bits. 

Tuesday, May 3, 2011

Taking the inside outside..

I love the trend of using furniture as decoration. I love seeing lounge out on the lawn or a dressing table in a field. So today's post is full of pictures saved on my computer that feature just this.

Look at this divine chaise... fabulous seating and an amazing photo prop!
Found via Summer Picnic Wedding
This set of drawers (complete with amazing glassware and ranunculus) makes for an amazing "alter" at this garden wedding. (Incidentally, this was one of my all-time favourite weddings for inspiration and will no doubt appear on my blog again some time soon. View the whole thing over here)
Rachel & Brent's wedding from Green Wedding Shoes

Another fantastic "alter" using bedside tables. Great colour!
Maya & Dave's wedding on Green Wedding Shoes


And from the same glorious wedding, how about an old desk as a: ....photo-booth..... guest book.... or dessert table??


Or how about an entire lounge area for your guests...
Danni & Nick's wedding via Design Sponge

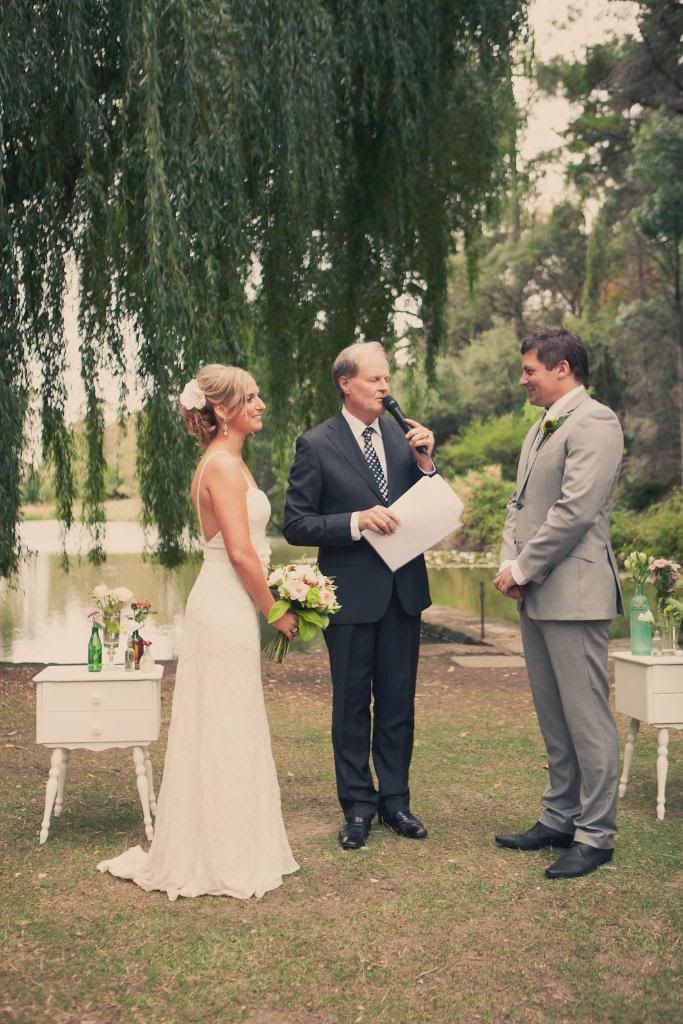
And to finish things off.. here is a snapshot of my ceremony furniture:


Monday, April 18, 2011

Treasure.. in the form of glassware

I adore the trend of mismatched vases, mason jars and random vessels as centrepieces and decorations. I adopted this trend early in my wedding planning process, and I fast set about building up a collection.

Hunting for these pieces became like a year long treasure hunt! Some were easy to find and were come across in supermarkets "oh that brand of pasta sauce / jam / juice has a great package.. looks like we're eating that for a year!" Some were harder, with much time spent trawling through op shops, markets and antique stores in search of the perfect colours, shapes, variation of heights, etc.

In the end, I got a great assortment of clear, crystal, greens, browns, ambers and blues:


So what was the result...?
I haven't shared many photos from my wedding yet. I'M NERVOUS!
Here's some to get things started:

Ceremony decoration
Tables

Tuesday, April 5, 2011

Etsy Rave: 'Me and Matilda' for fabulous ties

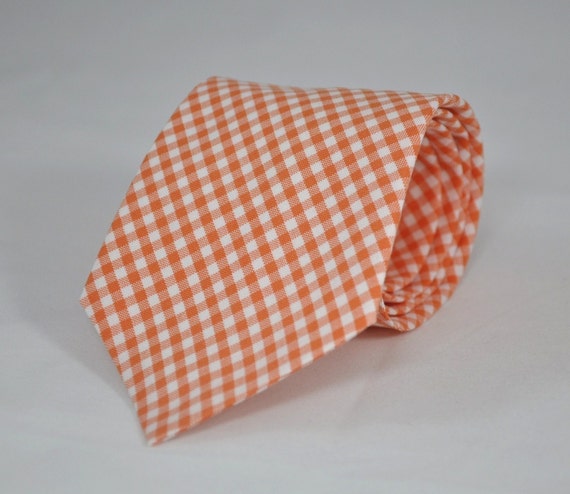
Since I'm on the subject of guy's outfits, I thought I'd show you our boy's ties and rave about the supplier!


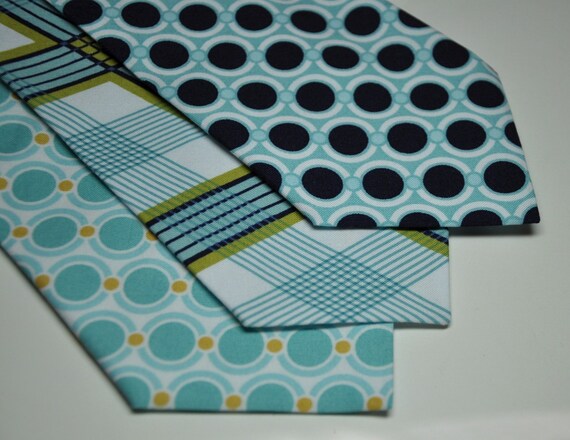
I bought these hand-made ties from Me and Matilda on my all-time favourite shopping website Etsy.  Aren't they great!?

We got:
- 3 x orange gingham skinny ties
- 1 x orange gingham bow-tie (for the groomsman that chose this); and
- 1 x black gingham tie (for the hunky groom).

What I love about them:
  • The glorious patterns available in the shop.
  • The fact that they are handmade by a lovely lady.
  • The fabric is cotton, so they are not shiny. And they are machine washable.
  • She makes them in whatever width you like.. so we got a slightly "skinny" tie for our guys.
  • The ability to mix and match. Wouldn't it look great to choose a few different patterns within one palette? Like this:

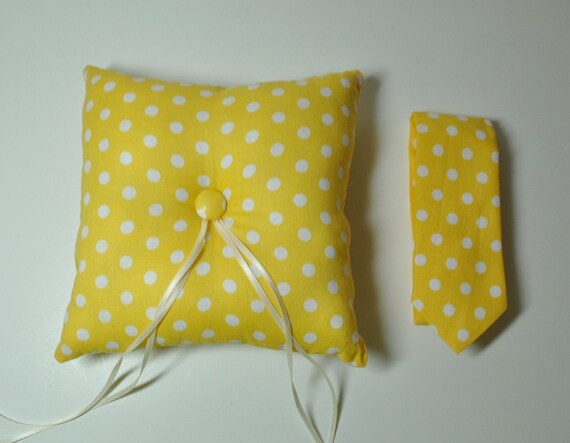
Also available were things like ring cushions and pocket squares. And I noticed she is now selling braces too. Cute!

Service was great. The seller made sure we got them in time. And the ties were very well made and looked fabulous!  Consider this a recommendation to go and browse the shop, no matter what your colour scheme is!
Tuesday, March 29, 2011

Our Invitations: “First comes love, then comes marriage..”

Back over HERE I talked about the idea for our invitations, based on the little sing-song rhyme from my childhood.

I knew I wanted to incorporate a couple sitting in a tree.
We wanted the invites to be unique, a little quirky and to have a casual feel. We wanted them to really set the tone for our relaxed wedding.

Luckily, we have a very talented friend (who also happened to be a groomsman), that offered to design our invitations for us.  In fact, he didn’t just offer to DESIGN, he offered to ILLUSTRATE!

I knew that working with friends could be tricky. And working with artists can be trickier. We had quite an idea of what we wanted, but then he is a creative soul with his own ideas. So we had to come up with something that made us both happy.  In the end, I think we did it! In fact, our invites make me really happy!

Here they are:
Here is the illustration which was the front of the invite. It is drawn entirely with lead pencil.
 If you cant see, it has writing on the branches:
"Adam and Jess sitting in a tree.. First comes love... Then comes marriage..."

All pieces together: Front with illustration, Back with details;  Information card; RSVP card;
Brown Kraft Paper Outer Envelope; Orange RSVP Envelope


This is the stamp we had made for stamping various places.
Putting the pieces together. See the stamp on the envelopes?

We tied the bundles up with twine..


And we attached little tags, on which we wrote people's names.
These tags only came in white... so I stained every one in coffee. I love the way they all look slightly imperfect.

Our guests loved our invites - we had so many compliments on them!!

I think part of what made them special is the casual vibe we tried to get across:
- we invited our guests to "Eat.. Drink.. Dance.. and Celebrate Love"
- our rsvp wording was  "yep, cant wait"or "nope cant come"
- we asked for 2 songs that would get each guest onto the dancefloor
And most of all, I think they really reflected us as a couple, and set the tone for the day!

I hope you like them...

Gimme some kinda sign girl!

Right, now that I’ve gotten your attention with a bit of Peter Andre..

I want to talk about signs. Wooden signs, hand-painted signs, blackboards, thank-you signs, directional signs, name tags, etc, etc. Don’t they seem to be taking over the wedding world?

I think it is because they make such a cool prop in photos.  
AND they are functional.. very handy if you get lost on the way to the ceremony, can't find the loo, momentarily forget who the bride & groom are... 
PLUS they are versatile: as demonstrated below, there are rustic ones, pretty ones, quirky ones, elegant ones, functional ones, etc. 

Top: Stacey Kane; Bragging Bags on etsy; Katie & Scottie
Bottom: Our hobby to your home  and Signs of vintage on etsy

Here is how I made some for our wedding (it’s not that hard… do you even need instructions?):


1. I found 2 x pieces of wood, relatively close in size. If you don’t have this lying around then just cut to size.
2. I started by writing what I wanted in chalk. This makes it easy to change if you need to. If you are fussy - or want elegant ones - you might need to create a stencil.. but i wanted rustic ones so I did it free-hand.
3. I quite liked the look with chalk, but was worried it would come off or smudge, so I painted over it with white paint and a thin brush.
4. I then grabbed a garden stake (buy them from a hardware store) to nail them to.
- At this point, I discovered I was using very hard wood that could not be nailed through. Uh-oh… had to call on husband to help out.
5. Husband drilled holes through my wood so that we could get the nails in.

The whole process took about an hour. And I made 3 of them.

TA-DA - here is a preview of how they looked on the day!